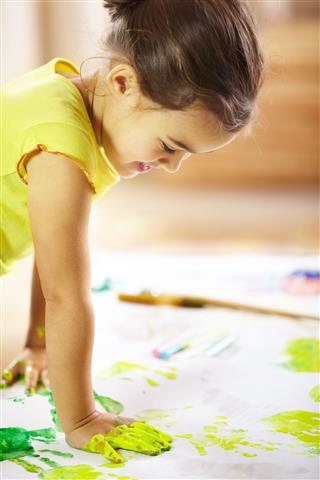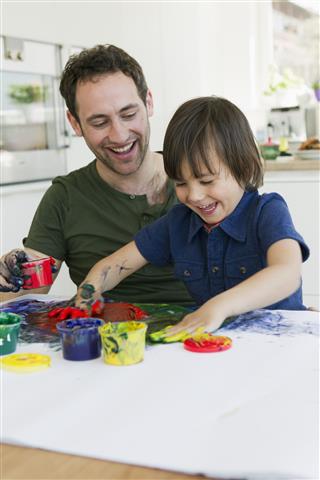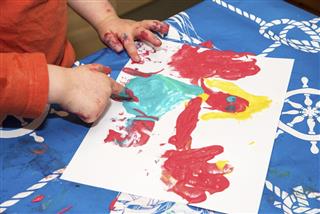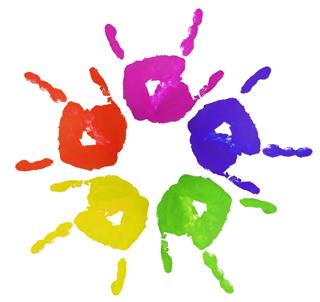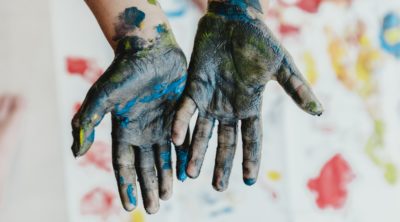
Some of the simple and easy to use finger painting techniques are presented in the article below. Kids and adults alike would find painting with fingers an enjoyable and fun-filled activity.
In olden days, the art of finger painting was popular in China, Europe and America. It was rediscovered in the recent past and became one of the popular techniques of painting. Today, this art form is practiced by amateur as well as professional artists the world over. Till few years back finger painting techniques were used mostly used for teaching school kids. Thus, it is noteworthy that even professional artists are taking interest this form of painting. This kind of painting offers great variety, flexibility and creativity in the way you apply paint to the paper/canvas; you may use thumbprints, finger impressions, palm impressions and even paint different shapes (waves, arcs, etc.) with fingers. Therefore, the art of finger painting is not just limited to kindergartens or classrooms. There is much more to this form of painting and artists are trying to explore it.
The colors used for finger painting can be prepared from different kinds of materials. Liquid starch, shaving cream and flour-water mixture are some of the commonly used materials for making finger paints. Finger painting colors sold in the market generally come in pots; children find it easy to use colors from pot-shaped containers for painting with fingers.
Finger Painting Tricks and Techniques

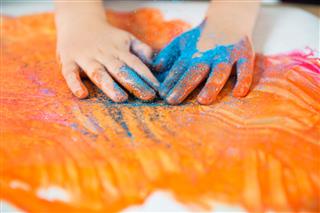
Tempera paint or water-based paints are generally used for finger painting. The paper, prior to painting should be moistened to allow the paint to spread properly. The colors used for finger painting should be poured into bowls for the convenience of painters. It is important that one uses the paint generously; this helps them make bold finger strokes. There are different techniques used for painting with fingers. Fingers, thumb, palm and even lower arm is used as a tool for painting/coloring.
Thumb and Finger Painting
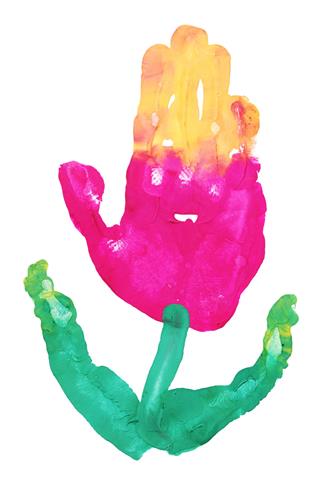
The technique of thumb-printing helps in creating/painting a variety of designs. Shapes which resemble animals, plants, flowers, etc. can be created with thumb impressions. You may also think of making shapes of birds and animals with the help of fingerprints. A thumb or finger impression resembles the shape of flower petal; thus, you can make simple flower paintings by means of thumb impressions.
Tree Painting with Thumb Impressions

There are many interesting and creative ways to make paintings with the help of thumb and fingers. For example, in the adjoining image, painting of a tree is made with thumb impressions. In the image you will see that the design of leaf canopy of a tree is created with thumbprints. The rest of the painting – branches and stalk – is made with a tool like the brush or pencil; instead, of a brush or pencil you can use the tips of fingers for drawing the rest of the tree.
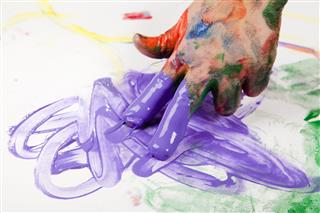
Creating waves and wiggles is one of the easy-to-learn finger painting techniques. You can make designs of waves with the help of thumb and fingers. In fact, you can practice your basic painting skills using this method. One can create amazing designs and patterns even with spiral and wave forms. Once you master these basic techniques, it becomes easy to advance to higher levels.

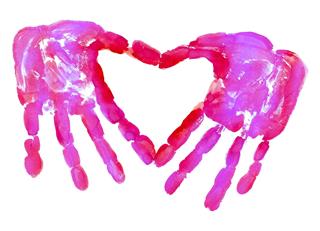
Symmetrical patterns can be created by folding a paper in two halves. Upon folding the paper, the design made on one half gets imprinted on the other. The design presented in the adjoining image is made with this technique. In this design, an oblique thumb impression is first made on one half of the paper. By folding the paper, you get the mirror image of the thumb impression i.e. a heart-shaped design.
Dot painting is one of the commonly used techniques in finger painting. In this style, a variety of shapes and patterns are created only with the help of dots. However, the outline of paintings made with the dot method is not very sharp. Therefore, one cannot make intricate designs with this method; however, basic shapes and patterns suited for kids drawings can easily be created.
Palm and Finger Impressions

The etching technique doesn’t involve the activity of painting. Instead, paint is removed with fingertips to make the desired designs. The paint is etched out while it is still wet. You may also think of using needles or other such sharp tools to etch out the design you wish to make. Through this technique, you can make some fine and detailed designs. However, as far as possible, make use of your fingertips for etching.
Etching on Palm Prints
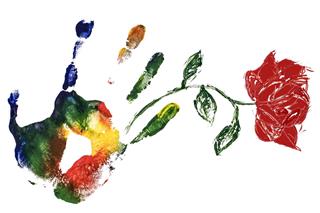
You may try out some interesting ideas and techniques for painting with the palm. In fact, this kind of painting is more about making prints/impressions with the palm than painting with it. In the adjoining image you can see that a design is made on a palm impression through the etching technique.

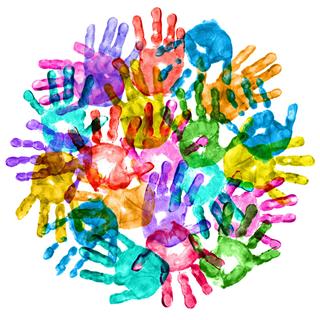
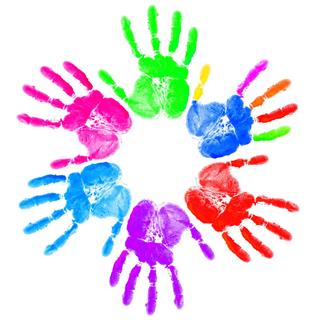
There is a simple technique in which you make palm impressions in a circular pattern to make a painting of earth. To make such a painting, fingers and palm should be painted with different colors. They should be smeared with a mixture of colors like green, blue, red, yellow, etc. In this finger painting technique, you will have to make several palm impressions on the paper in a circular pattern. The final picture/painting is that of a blue-green colored earth interspersed with different colors. The number of impressions made for creating such a design should be greater than the number of impressions seen in the adjoining image. Only then will you be able to create a mixture of colors which resembles the bluish-green surface of earth. Don’t hesitate to use bold colors while making such kind of designs. In fact, it will make your painting appear colorful, attractive and earth-like.
The ideas and information presented in the article provide us with some basic techniques and tips for finger painting. Hope the information helps raise your interest in the activity of finger painting.
