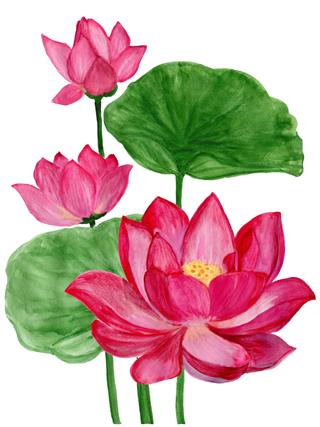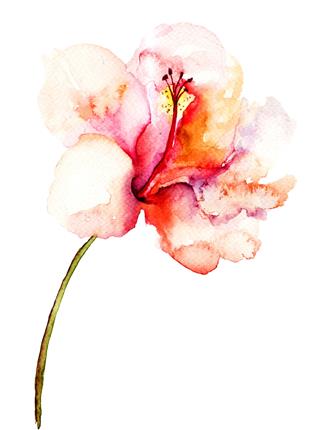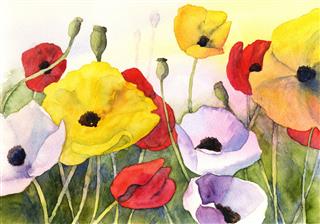
Who does not love flowers? They are the most beautiful gift of nature. Capturing these in your drawings and paintings can be easy, and how? Well, we will learn how to draw flowers step by step, in the ArtHearty write-up given below.
Whether depicted realistically or in impressionistic technique, in subdued colors or in full explosion of their natural colors, in bud or full bloom, flowers as a subject in art, both by the artist and the collector, have always had a universal appeal.
Whether you travel to the mountains or go to the valleys or plains, they are there. They can be potted flowers or they can be wild flowers. Whatever be the kind of flower, there is no doubt it is going to be beautiful. Flowers come in various shapes sizes and colors, each one is distinctively beautiful.
If you are one of those who is inspired by the happy, fresh, and uplifting quality of flowers, and want to learn how to draw them, the following pointers will make will make drawing flowers easier for you.
They are a step-by-step guide on how to draw flowers. Keep these in mind while drawing any flower, and you will be surprised to see the hidden artist in you.
Fun Fact!
Insects like bees that pollinate flowers have a special vision. This enables them to see colors and designs that the human eye cannot see. This means that, a flower that looks plain to us can be of a spectacular rainbow of designs and colors to an insect!
Step by Step Instructions to Draw Flowers
Calla Lilly Flower


Plumeria Flower


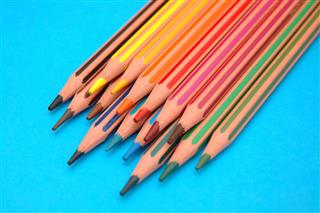
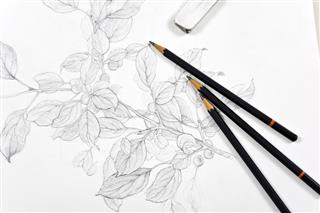
The right tools make work easier. Choose a simple white paper as the background for the first time, and later opt for other canvas mediums. While it is suggested that beginners use pencils to make a primary sketch, some of you can also use pens, markers, or crayons for the sketches, if you have a good hand at it.
Outlines and rough shapes should always be drawn using HB or light pencils. The final outline can be done later once the basic form is complete, with dense and dark lead pencils like 2b or 4b. You can also use a pen to highlight the final result. Keep an eraser handy. However, use it very lightly on the paper. Excess use of an eraser can spoil the paper and the drawing.
Observation is the key to capturing the essence of anything you want to draw. Hence, first observe the shapes of flowers in nature. For example, a daisy has a round shape, a tulip an oval shape, while foxgloves have a triangular trumpet-like shape. Then, notice the petals. You will see that a daisy’s petals are a fairly regular series of oval-shaped spokes, while a rose’s petals wrap around in a spiral.
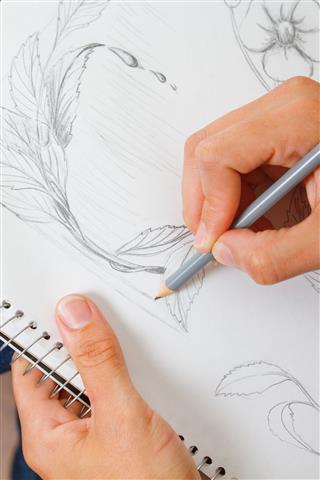
Next, put a flower, either a real one in a vase, or a photograph in front of you. Then, using an HB or lighter pencil, begin sketching on your sketch pad. Make sure you are drawing lightly, lest if you make a mistake, the page may get shabby when you erase the lines. It is best to start by drawing the overall shape of the flower first.
Proceed step by step, which is, first complete the outline and basic shape. At this stage, do not attempt to put in any shading, details, or other characteristic aspects of the flower. The aim at this point is to capture the general shape of the flower. Most novices begin sketching the flower from the inside to the out, as the eye is naturally drawn to the flower’s center. However, this will end up in a misshapen flower, because it is harder to judge and draw overlapping forms and small distances.
Now lightly sketch the petals, the stem, and the leaves. Remember, you don’t need to draw every petal and leaf. In the first attempt, you may not be perfect, but the first few times when one is drawing pictures of flowers, nobody gets it cent percent right. Once you are satisfied with having captured the overall shape of the flower, start adding the details. Begin by penciling in hatch lines to depict the shadowed areas of the flower.
Always remember to start with light shading and then progress to shading the darker areas. Balance the dark areas by adding middle tones. Apply a little more pressure with your pencil to create darker lines, in order to give more definition to the petals and leaves. Then start shading individual petals to add interest. Notice that the areas where the light hits the flower are lighter in tone, hence, shade accordingly. Almost immediately, you will find your flower coming to life. Now, continue giving more definition to the flower drawing, by strengthening the lines and the shadows.
Further deepen the shadowed areas, and keep sketching the full mid-tone range, adding intricate details to give character to your drawing. Don’t rush at this stage. Aim for balance and unity. Unleash the artist within you as you give your image feeling and life. However, don’t fall into the temptation of overworking on it by adding too much, for it will lose its natural charm. When you feel that your flower looks complete, it is time to stop. Then you can either use a pen or a felt-tip marker to darken the outlines of the flower. After which, erase the pencil marks outside the darkened lines, and erase any unnecessary lines too.
If you want to color the flower in a different way, you can use colors for the shading. Simply complete the outlines with a light pencil, erase the extra and rough shapes, and begin coloring. Start by giving a base color to the light tones. Then start adding the mid tones to the flower. Once finished, take a darker shade and color the flower, to give depth by adding dark tones.
It may not look so easy in the beginning, however, with regular practice and a few tips, drawing flowers can be fun! Use graphite pencil shading and charcoal pencil to give an artistic statement to the flowers. If you want a realistic and vibrant look, opt for other colorful mediums like water colors, poster colors, or even crayons. When you look for flowers to draw, choose the ones that have interesting patterns of petals, such as dahlias, hollyhocks, hibiscus, roses, orchids, lilies, tulips, and so on. Small and delicate flowers like violets and honeysuckle also make great subjects for drawing.
